To connect to an Amazon S3 data source by adding the Amazon S3 node to the data flow. You can import a single file, or multiple files, with Text, JSON, XML, Excel, and CSV files supported.
The given file is converted into a table; if multiple files are selected from the Amazon S3 source, each file will be combined into a single table.
Configure the Amazon S3 Source Node
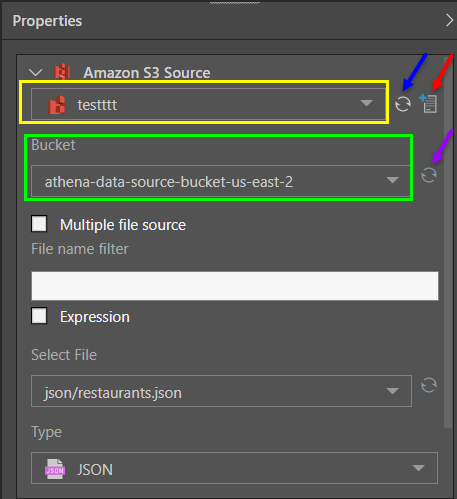
With the node selected, go to the Properties panel. Select the Amazon S3 source from the dropdown list (orange highlight below). The list exposes the Amazon S3 sources that have been configured in Pyramid by an Admin. If the required Amazon S3 source doesn't appear, try refreshing the list (blue arrow). Admin users can configure additional Amazon S3 sources here by clicking the Add Server button (red arrow).
Next, select the required Bucket (purple arrow). If the Bucket doesn't appear, try refreshing the list (pruple arrow).
Next define the following criteria:
- Multiple file source: select all files of the given file type; each file will be combined into a single table.
- File name filter: filter the files that show up in the 'Select File' list, or filter the 'Found Files' when selecting multiple files.
- Expression: create a dynamic filter expression in the PQL editor.
- Select File: appears when selecting a sing file; choose the required file from the dropdown list.
- Found Files: appears when selecting multiple files. The list indicates the files to be copied, and can be filtered from the 'file name filter' field.
- Type: select the file type for the files being copied from the data source.
File Properties
Next, you'll need to set the file properties according to the given file and file type. This can be done manually, or by using the Auto Detect function (purple highlight below).
- Click here for more information about file properties.
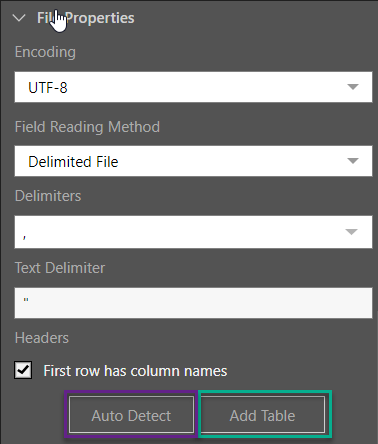
Table Selection
Tables can be added or updated directly from the File Properties window (green highlight above), or from the Tables window.
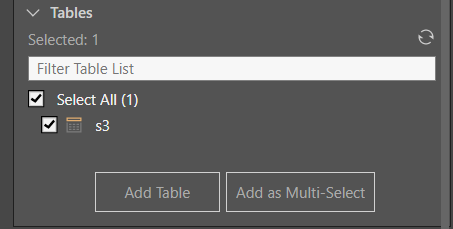
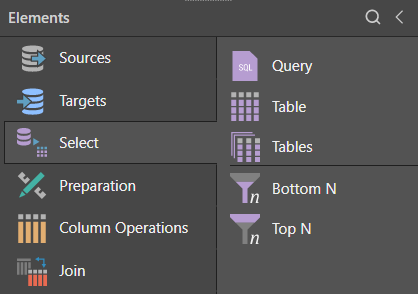
Tables can also be added via the Select functions.
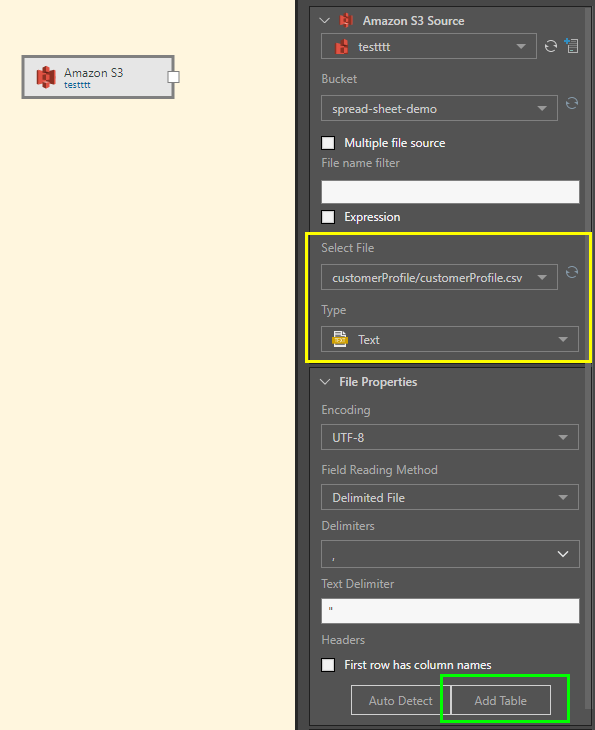
In this example. a CSV file is copied from the data source; the file type is set to Text (yellow highlight below). The table is added by clicking 'Add Table' from the File Properties window (green highlight):
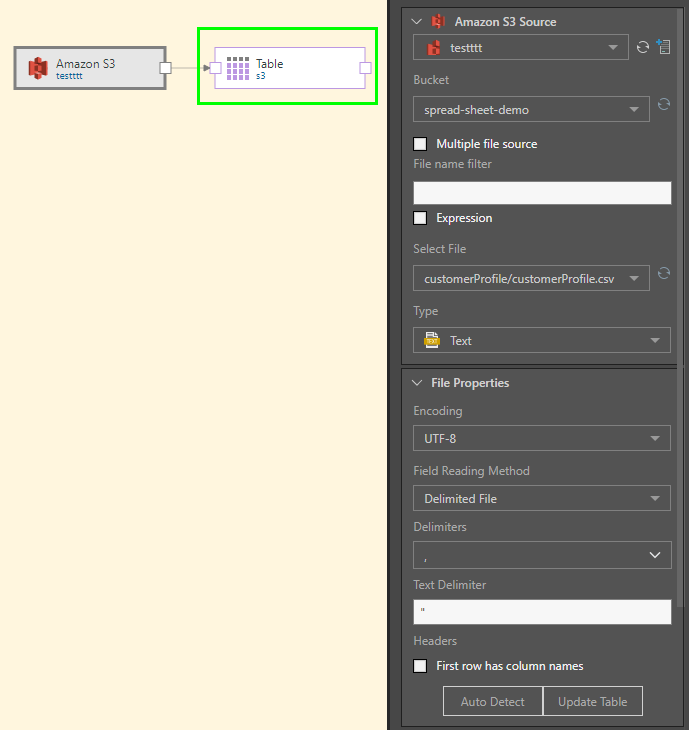
After clicking Add Table, the file is converted into a table, represented by a table node connected to the source node:
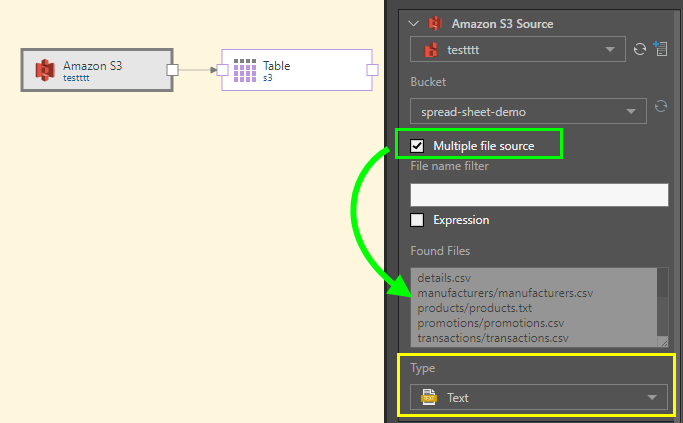
In this example, multiple .csv and. txt files are selected from the given bucket by enabling 'Multiple file source' (green highlight below). The text type is set to Text (yellow highlight), and the table added to the data flow. All the files in the selected bucket are combined into a single table:
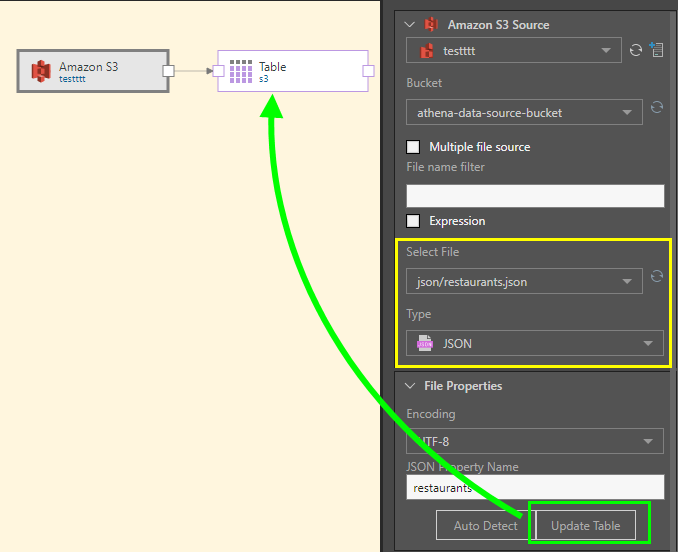
In this example. a JSON file is copied from the data source, and the file type is set to JSON (yellow highlight below). The table is added by clicking 'Add Table' (or 'Update Table') from the File Properties window (green highlight):